Countertop refinishing has become a popular option for homeowners looking to refresh their kitchen or bathroom without the cost of a full replacement. This method extends the life of existing surfaces and restores beauty through specialized repair and coating techniques. It provides a practical path toward transformation that balances durability, style, and affordability.
Evaluating the Condition of Existing Surfaces
Understanding the processes that go into countertop refinishing always begins with a detailed evaluation of the existing surface. A trained technician examines the countertop for scratches, burns, stains, pits, small cracks, and any structural weaknesses that may affect the outcome. This inspection helps determine what preparatory work will be required, such as patching, sanding, or deep cleaning, and it also ensures that refinishing is indeed the right option. For example, countertops suffering from severe water damage, warping, or deep structural cracks may not respond well to surface-level restoration. By identifying these potential limitations early, professionals can provide clear expectations about the final results and guide homeowners toward the most appropriate solution for their space.
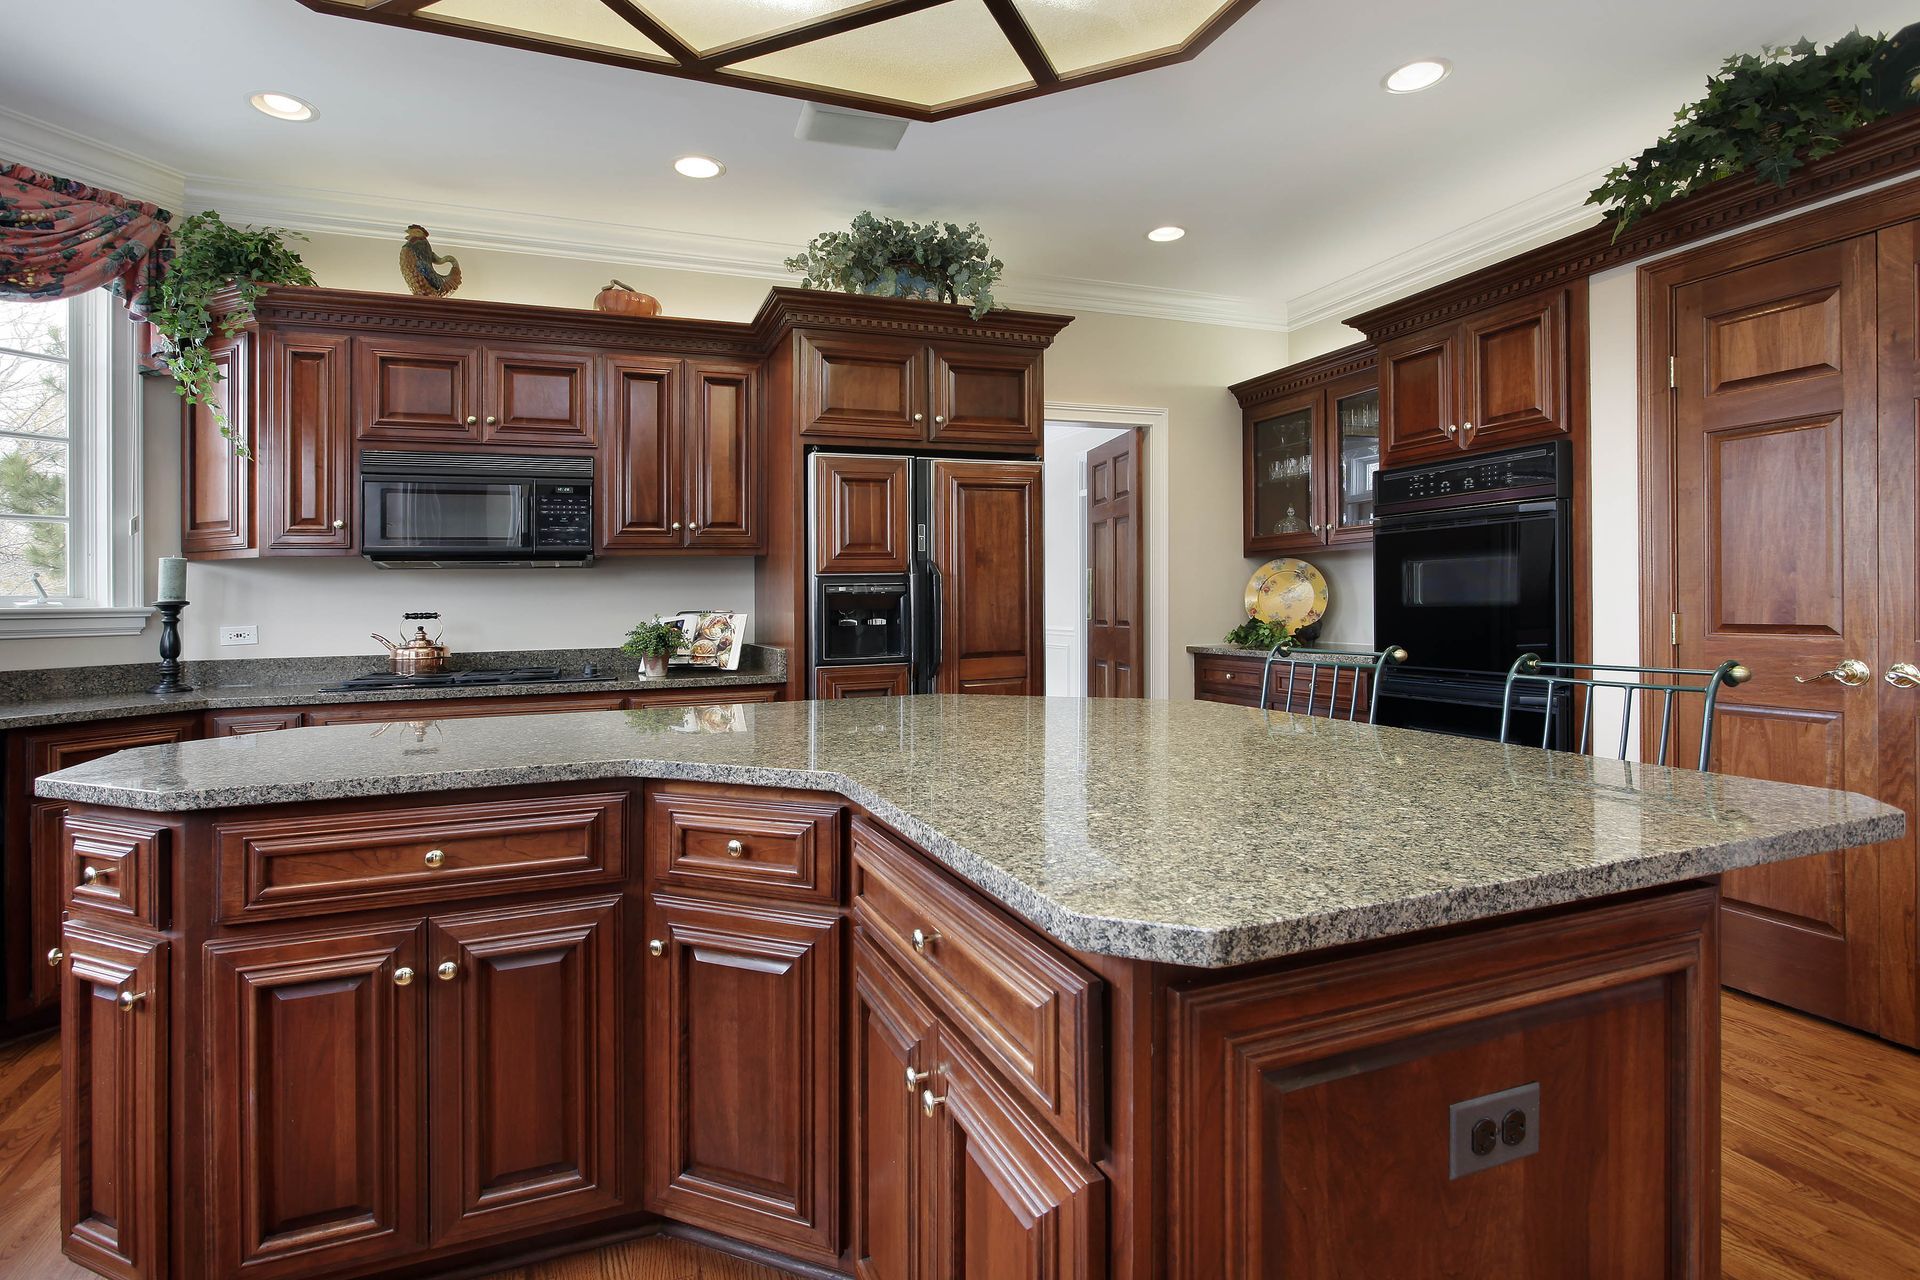
During the evaluation stage, professionals also take measurements to ensure consistency and full surface coverage. According to Fixr, most kitchens require about 30 sq.ft. of countertop space, while larger kitchens may need as much as 40 sq.ft., which helps determine material quantities and estimated labor time. Whether the homeowner wants a sleek modern look, a durable surface for heavy cooking, or a fresh finish that matches existing cabinetry, the initial assessment ensures that the refinishing approach aligns with the desired aesthetic and functional goals.
Preparing the Countertop for Complete Adhesion
After determining suitability, the next essential step in refinishing a countertop is preparing the surface. Preparation sets the tone for the entire outcome because coatings and bonding agents only adhere well when the underlying material is clean, smooth, and free of debris. This process normally begins with removing all items from the surrounding area and protecting appliances, cabinet fronts, sinks, and backsplashes with masking materials. Ventilation setups, such as fans or exhaust systems, may be added to maintain air quality and speed up drying times.
Cleaning plays a central role in preparation. Technicians use industrial cleaners or degreasers to remove residues from oils, soap buildup, food particles, and general kitchen grime. Once cleaned, the surface is usually sanded to eliminate minor imperfections and to create a slightly rough texture that helps coatings bond securely. Some materials, like cultured marble or high-gloss laminate, require deeper mechanical abrasion with specialized equipment. Any chips, scratches, or small cracks are filled with epoxy or patching compounds designed for long-term durability.
Preparation also includes ensuring that the substrate—the material beneath the visible surface—is fully dry. If moisture is trapped under coatings, it can lead to bubbling, peeling, or discoloration later. By completing each part of the preparation thoroughly, technicians create a stable foundation that leads to a stronger and more attractive finish.
Repairing Surface Imperfections for a Smooth Foundation
Before the actual coating process begins, correcting imperfections is vital to achieving a flawless and long-lasting result. Even small blemishes can become more noticeable once a new finish is applied, which is why repair work is considered one of the most meticulous phases of countertop refinishing. Professionals examine the surface closely to detect areas that might need leveling, reinforcing, or detailed patching.
One common repair involves fixing chips along the edges, where everyday activity can cause small cracks or dents. These imperfections are filled with color-matched epoxy, smoothed carefully, and shaped to replicate the original contour of the countertop. Stains from heat exposure or harsh chemicals may also require additional sanding or special treatment to prevent them from showing through the coating.
Another element of the repair phase is ensuring that seams and joints are properly reinforced. In laminate countertops, for example, joining lines may loosen over time, leading to slight lifting or shifting. Reinforcing these seams helps the refinishing material spread evenly and prevents future separation. Similarly, deep scratches or knife marks must be filled and sanded until the surface feels completely uniform.
Repairs are not only about appearance; they also help prevent long-term structural issues. Fixing small flaws stops them from worsening and ensures the eventual coating withstands everyday use. Once these repairs are finished, the countertop becomes a truly clean slate, ready for professional application.
Applying Adhesive Primers for Optimal Bonding
With repairs complete, the next phase in countertop refinishing involves applying adhesive primers. Primers are essential because they act as the middle layer between the original countertop and the new coating system. Without primer, even high-quality coatings may fail to bond correctly, leading to peeling, uneven textures, or premature wear.
The primer used depends on both the countertop material and the final finish being applied. Porous surfaces like wood absorb primer differently compared to non-porous options like laminate or engineered stone. Professionals select primers specifically designed to bond to difficult surfaces, ensuring that they penetrate micro-scratches created during sanding.
Application is usually performed with spray equipment to ensure that the primer creates a uniform layer without streaks or visible marks. In some cases, technicians may use rollers or brushes, especially for small areas or intricate spaces around sinks and corners. The primer must then dry completely, often requiring several hours depending on temperature and humidity.
Drying time is essential to avoid trapping moisture or creating a tacky surface. Once cured, the primer forms a durable base that helps the finishing coating adhere smoothly and evenly. This step is foundational to achieving long-lasting results and ensuring the final finish looks professionally completed.
Coating the Surface with Durable Refinishing Materials
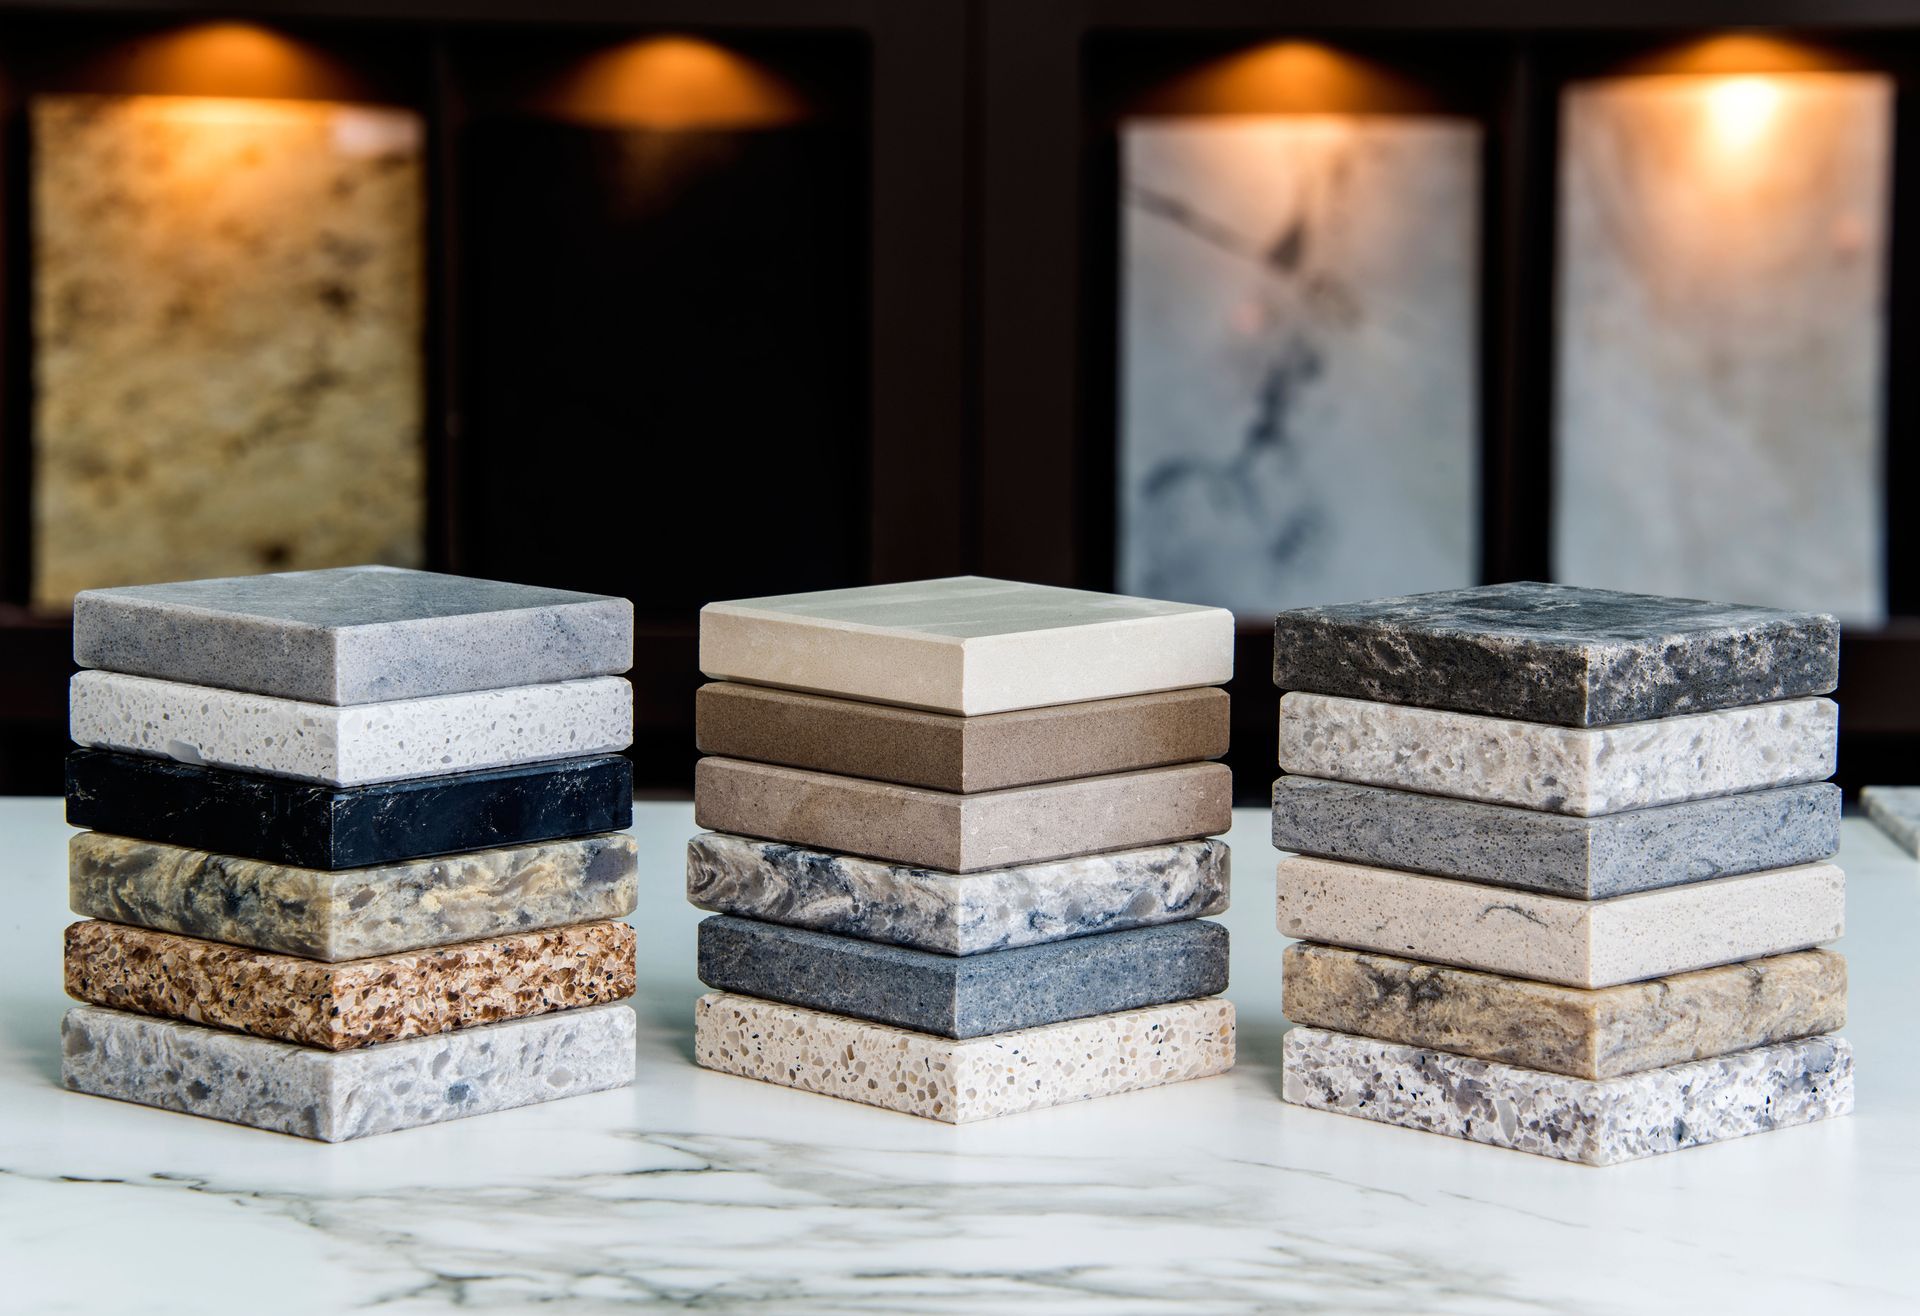
After the primer has set, the most transformative stage of countertop refinishing begins: applying the durable coating that gives the surface its new look. Coating materials vary widely, ranging from solid-color finishes to textured multi-layer systems designed to mimic natural stone or composite surfaces. This diversity allows homeowners to achieve a variety of aesthetics without removing or replacing the existing countertop.
The coating is typically sprayed in multiple thin layers, each designed to build strength and visual depth. Thinner layers help prevent dripping, bubbling, or an uneven look. In stone-like finishes, flecking materials or mineral-based particles are applied between layers to create a natural, multi-dimensional effect. These textures can help disguise imperfections and add durability due to their thicker, more resilient composition.
Some refinishing systems incorporate specialized topcoats with advanced chemical properties. For example, polyurethane or acrylic-based protective coatings create a barrier against moisture, heat, mild abrasions, and chemical exposure. These topcoats not only add shine but also increase the surface’s lifespan by preventing wear and discoloration.
Drying occurs between layers to ensure that each coat bonds correctly. Temperature control, humidity management, and ventilation help speed the curing process without compromising quality. When done correctly, the coating phase produces a durable, attractive finish that closely resembles high-end countertop materials at a fraction of the cost.
Refinishing a countertop offers homeowners an affordable, durable, and visually appealing alternative to full countertop replacement. By understanding each stage—from evaluation and repair to priming, coating, and curing—homeowners can make confident decisions about restoring their surfaces. When professionally executed, refinished countertops deliver long-term value and a beautifully renewed appearance. If you are interested in countertop refinishing, contact Power Marble & Granite today to learn more and get started!

Share On: